
You don’t need a Digital Arrival Card (DAC) to enter Bangladesh now, but many destinations do require one and it speeds processing.
Complete DACs exactly as in your passport, include flight and full accommodation details, and submit 48–72 hours before departure.
Use official government portals only, save PDFs/screenshots, and bring printed backups.
Pay for help only for groups or tight timelines. Keep documents, visas or VoA receipts ready and continue for country‑specific steps and troubleshooting.
Key Takeaways
- Bangladesh does not require a Digital Arrival Card (DAC) as of 2026; use official government portals only.
- Visa on Arrival at Dhaka’s Hazrat Shahjalal Airport remains paper-based and discretionary, typically valid 15–30 days.
- If traveling to countries with DACs (e.g., Thailand), submit the DAC 72–24 hours before departure, ideally 48 hours.
- Save printed and digital copies of visas, Sonali Bank receipt (USD 51 for VoA), passport, return ticket, and hotel booking.
- Beware third-party sites charging for “digital” forms; confirm URLs match official immigration domains before paying.
Do I Need a Digital Arrival Card?
Wondering whether you need a Digital Arrival Card for Bangladesh? You don’t, at least not officially as of 2026. Bangladesh hasn’t implemented a mandatory DAC system and hasn’t set up an official portal like Thailand’s TDAC.
Wondering about a Digital Arrival Card for Bangladesh? Not required—no official DAC system or portal as of 2026.
Immigration still relies on traditional visa documentation, passport validity, proof of onward travel, and accommodation details. Visitors should also ensure their passport has at least six months validity beyond their intended stay.
Visa on arrival remains the primary option at Hazrat Shahjalal International Airport for eligible travelers, but issuance is discretionary and typically 15–30 days. Visa on arrival is valid for 30 days and is a single-entry visa.
Beware third-party services charging for “digital” forms that conflate Bangladesh with other countries. You should focus on valid passport, payment for visa fees, and printed or digital copies of required documents.
Digital customs or health screening apps aren’t required by Bangladeshi authorities currently.
Why Use a Digital Arrival Card : Benefits for Travellers
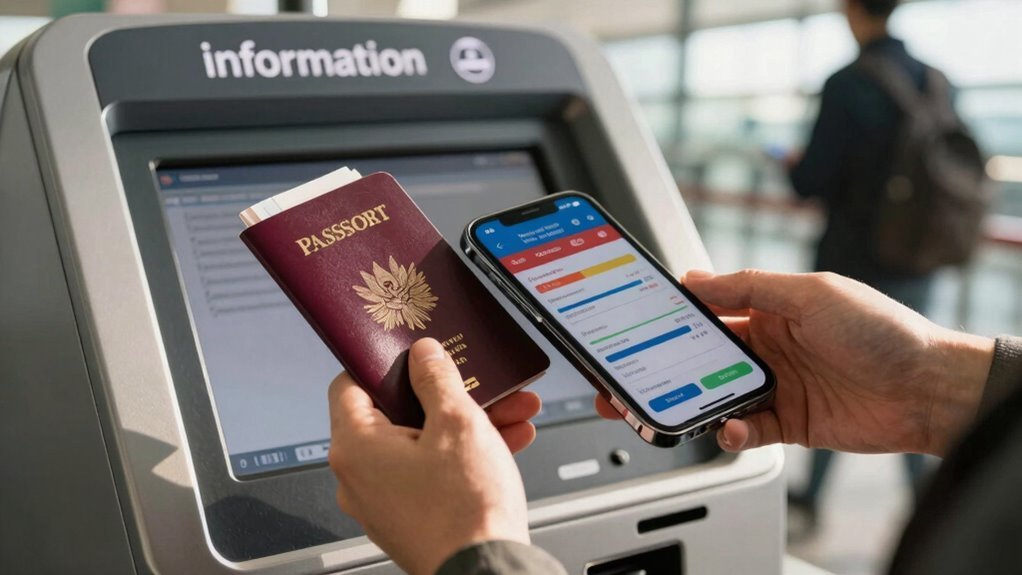
Because a Digital Arrival Card streamlines several arrival tasks into one quick digital step, you’ll spend less time queuing and more time on your trip.
You’ll finish immigration faster—scanning your passport and submitting details ahead cuts processing time and often saves at least 30 minutes versus paper forms.
You can complete the form anywhere—home or a layover—using a mobile-responsive site and get a QR code for swift verification.
Digital entry reduces errors from illegible handwriting and creates an instant record in immigration systems, improving accuracy and security.
It also supports pre-arrival health and security screening.
Check the provider’s Data privacy policy before submitting, and save a PDF or screenshot for Offline access in case connectivity fails on arrival.
Travel agents can submit TDACs on behalf of clients, which is helpful when arranging multiple travellers and tight schedules agent submissions.
Many Bangladeshi travellers benefit from knowing visa requirements and entry options like visa-free access before completing a Digital Arrival Card.
What the Digital Arrival Card Asks For (Passport, Flight, Stay)
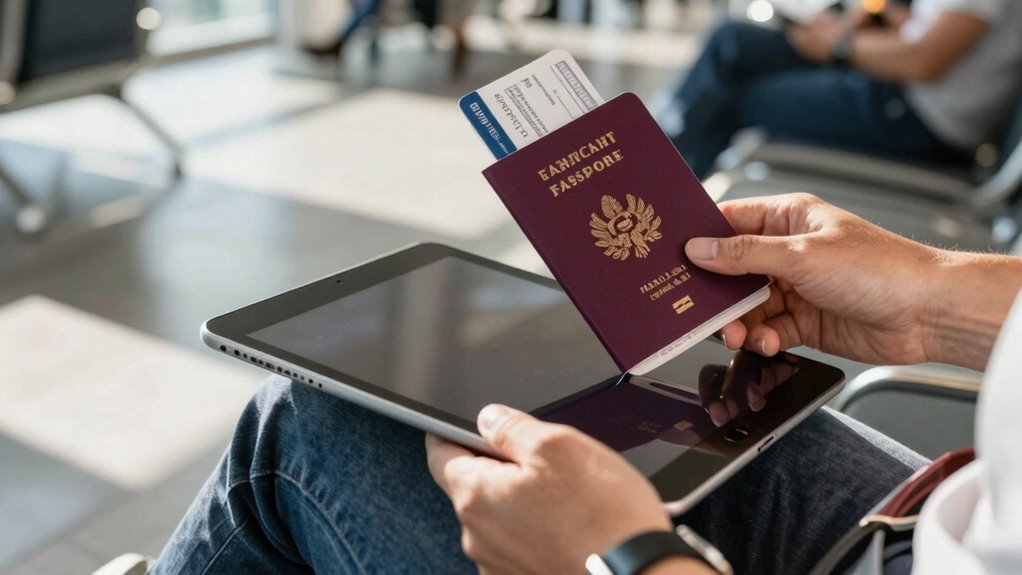
You’ll need to provide precise passport details — the number, expiry date (make sure it’s valid for at least six months), and your name exactly as it appears on the document.
You’ll also enter flight info like your flight number and arrival date, and have proof of onward travel ready. Many countries now require travelers to complete a digital arrival card online before departure. Apply for your Japan visa through VFS Global and carry your appointment and submission receipts when traveling.
Finally, list where you’ll be staying and a contact address (hotel or private residence), and be prepared to show printed confirmation or a QR code at immigration.
Passport Details Required
Prepare your passport details carefully before starting the Digital Arrival Card: you’ll need the exact passport number, full name, nationality, date of birth, and expiration date as they appear on your passport.
Enter your passport number from the identification page into the personal details section; it must match exactly for validation and can’t be changed after submission.
Type your full name exactly as shown, don’t use nicknames or different name variations, since immigration matching depends on this.
Select your nationality in the personal details prompt and enter your date of birth and expiration date; these fields are mandatory and non-editable after you submit.
You can upload passport scans or use the MRZ scan option to reduce entry errors and speed verification.
All non-Thai citizens must register before entry.
Make sure you also have vaccination certificates (including meningitis ACYW135) and any medical prescriptions handy for verification during arrival.
Flight Information Needed
When you fill in the Digital Arrival Card, provide precise flight and travel-mode details so immigration can match your arrival to your passport and itinerary; enter the inbound flight number (or vehicle/vessel info for land or sea), the country of departure, and the port of entry, and make sure the arrival date matches your scheduled flight within the required submission window (ideally at least three days, and no more than 72 hours before arrival).
You’ll enter your final inbound flight number; for land or sea, supply vehicle or vessel identifiers. Include country of boarding and port of entry so records align with your passport. Departure details are optional but useful. Group submissions accept up to 10 travelers. Be sure to consider accommodation proximity and group logistics when traveling with family or groups to ensure smooth coordination upon arrival.
Review trip information against your flight records; update non-core fields if plans change. Note baggage allowance only if requested for immigration or airline checks. All non-Thai travelers must complete the Thailand Digital Arrival Card online before entry.
Accommodation And Contact
After entering your flight and arrival details, you’ll need to provide where you’ll stay and how you can be reached. The Digital Arrival Card requires the full accommodation address (hotel or private stay) and your passport data, and you should have booking confirmation or proof of address ready to show at immigration. You’ll enter passport number, nationality and DOB, and list the address of visit used for visa on arrival checks. Have printed or emailed hotel details or hostel contacts and booking confirmation; immigration verifies against the form. Phone isn’t always requested but appears on booking proofs. Keep a printed QR or confirmation email with your passport for the initial 30-day stay and note local neighborhoods clearly for faster processing. Be aware that issuance of a Visa on Arrival is subject to discretion of the immigration officer. Make sure to perform due diligence when choosing any visa or travel service to avoid unexpected fees or poor guidance.
| Field | Requirement |
|---|---|
| Passport | Number, validity ≥6 months |
| Address | Full accommodation address |
| Proof | Booking confirmation (print/email) |
| Contact | Hostel contacts or hotel details |
How to Complete the Digital Arrival Card : Official Free Site Steps

Start by locating the official immigration portal for your destination—use a search engine to find the government site (not ads or third‑party services) and confirm the URL matches official sources like tdac.immigration.go.th for Thailand or voa.specialbranch.gov.bd for Bangladesh VOA; this guarantees you’ll complete the free, legitimate digital arrival card and avoid unnecessary fees.
Once on the site, prepare passport, flight itinerary, accommodation full address, and health details. Be mindful of privacy concerns and use secure Wi‑Fi; the sites support mobile accessibility so you can finish on your phone. Digital Arrival Cards are valid for a single entry. For travelers from Bangladesh, remember that a visa is required for tourism as of 2025 and you should have e‑Visa documents ready when filling the card.
- Enter personal details exactly as on your passport.
- Add flight number, arrival date, transport mode.
- Provide full accommodation address; upload bio‑page photo if prompted.
- Review all entries, submit, save QR code or confirmation.
Paid Help vs DIY : When to Pay for a Service
Think about cost versus convenience: the official arrival card is free, and paid services just add extra travel expenses. Only pay if the time you save or the reduced chance of errors makes the fee worth it. Go the DIY route when you have reliable internet, clear documents, and can submit within the 72-hour window — it’s straightforward and cheap that way. If you do hire help, pick reputable providers. Look for verifiable reviews, transparent pricing, and secure handling of your personal data so you don’t end up trading convenience for risk. Keep in mind that submitting within the required period is essential to avoid rejection and delays submit within 3 days. Also remember that certain prohibited items, like flammable liquids, cannot be carried on board and may affect your travel plans.
Cost Versus Convenience
While you can complete Thailand’s Digital Arrival Card (TDAC) for free, paying a small fee can make sense if you’re short on time, unfamiliar with the form, or traveling as a group, since concierge or OTA services will fill the form, deliver a QR code, and avoid last‑minute border delays.
You’ll weigh small concierge fees against time saved, reduced error risk, and avoidance of cash alternatives hassles at borders. Public transport options from airports can further reduce overall trip costs if you skip paid services for transfers. Paid help is handy for group payments, split billing, or when airports lack ATMs. Use official or reputable providers. Siam Legal offers free assistance; many OTAs charge modest fees.
Beware third‑party sites asking for payment without clear value; the official TDAC itself remains free. TDAC is mandatory for all foreign nationals entering Thailand effective May 1, 2025.
- Saves time and reduces form errors
- Provides QR code confirmation
- Helps manage group payments
- Avoids cash-only VOA queues
When To DIY
If you’re comfortable gathering passport details, flight and full accommodation addresses, and you can submit the required arrival card within each country’s time window (typically 72–96 hours before travel), do it yourself to avoid fees. Official portals are free and generally reliable.
DIY makes sense when your itinerary is straightforward, you’ve done a dry run checking passport numbers, expiry, issuance date and accommodation addresses, and you can meet tight time constraints like Singapore’s 3-day or Maldives’ 96-hour rules.
Choose DIY for single travelers or simple family travel where you handle entries consistently. Pay for help when you’re short on time, managing complex itineraries across multiple countries, or need error review to avoid denied boarding.
Factor paid service cost into budget planning. Dubai’s seasonal attractions can affect travel timing and whether you need additional documentation or bookings.
Choosing Reliable Assistance
Now that you know when DIY makes sense, decide whether to pay for help based on time, tech comfort, and risk tolerance.
You’ll save money using the official TDAC site—it’s free—and should avoid sites that charge hidden fees or aren’t https://tdac.immigration.go.th.
Pay only when you need streamlined support, offline help, or reassurance from trusted advisors who clearly state service transparency and that government submission remains free.
- Choose paid help if you lack internet access or time before travel
- Verify providers disclose fees, process steps, and link to official TDAC
- Prefer agencies offering confirmation handling, printing, or QR-code backups
- Avoid any service that claims exclusive access or pressures immediate payment
Save confirmations and carry printed backups regardless of the route you pick. Many applications are processed quickly, with most approved within 1–6 hours, so plan accordingly.
Country Rules for Bangladeshi Travellers (Thailand, Maldives, Philippines, Indonesia, Brunei, India)
Because each country sets different entry requirements, you should check rules for visa type, passport validity, proof of funds, and mandatory health or arrival declarations before you travel: Thailand and Indonesia require eVisas for Bangladeshi citizens (Thailand also enforces proof of 20,000 THB per person or 40,000 THB per family), the Maldives issues a free 30‑day visa on arrival but needs a Traveler Declaration via IMUGA within 96 hours, the Philippines generally requires a visa and a passport valid at least six months (with some extensions and Balikbayan exemptions), Brunei allows visa‑free stays up to 90 days but mandates the BruHealth declaration, and India requires a visa with at least six months’ passport validity and compliance with updated travel protocols.
| Country | Key action |
|---|---|
| Thailand | eVisa, funds proof, check embassy contacts |
| Maldives | IMUGA declaration, arrival visa |
| Philippines | Visa, 6+ months passport |
| Indonesia/Brunei/India | eVisa/app declarations, BruHealth, consular assistance |
If Your Digital Arrival Card Is Rejected: Steps to Fix It
Having checked country-specific entry rules, you should also know how to act when your digital arrival card gets rejected. Check the rejection causes in the notice, compare every field with your passport and booking documents, and confirm passport validity (usually six months). Correct errors, especially immutable items like full name or passport number, which require a new application. Gather supporting files before resubmitting. Use the official portal and allow processing time. Also remember that the digital arrival card is mandatory for all foreign nationals and must be completed before travel.
- Review rejection notice and list required corrections
- Fix editable errors and prepare documents for upload
- Submit a new application if immutable fields need change
- Contact support or immigration if issues persist
Follow the resubmission timeline (often within 72 hours before travel) to avoid last-minute problems.
Bangladesh Entry Alternatives: Visa on Arrival and VOA Online Steps
If you don’t have a pre-approved e‑visa, Bangladesh’s Visa on Arrival (VoA) available through an online pre-application or directly at select airports gives you a practical entry option; this section explains the online VoA process, what you’ll need at the airport, and tips to speed your clearance.
Register with a valid email and password, activate via the emailed link, sign in and click Apply for VoA. Complete Part A with passport details, upload photo/documents, review, print the draft if needed and submit. Ensure you have a valid email address for account setup and communications.
Pay USD 51 at Sonali Bank in arrivals (cash or cards), keep the receipt. At immigration present passport, receipt, printed return ticket, hotel booking, application form and proof of USD 500 funds.
Carry travel insurance details and confirm airport transfers in advance.
Pre-Flight Checklist : Timing, Printouts, Screenshots, Currencies
Lock in your Digital Arrival Card and arrival-day documents well before you fly to avoid last-minute holdups: submit the card between 72 and 24 hours before departure (earlier, about 48 hours, is better during peak periods), finalize it at least 24 hours before boarding, and aim to complete processing in the window from midnight up to two hours pre-flight.
Print the completed card on A4 white paper at 100% scale, attach it to your passport, and keep screenshots of the confirmation screen and QR code as mobile backups.
List any currencies over the USD 5,000 equivalent on the form for cash declaration, including digital-wallet balances if applicable. Verify passport validity, match flight details, and email screenshots to yourself. Also confirm that any printed materials meet standard print specs like 300 DPI resolution when preparing physical copies.
- Submit 72–24 hrs (48 hrs in peak)
- Print A4, 100% scale
- Screenshot QR/confirmation
- Declare currencies above USD 5,000
Frequently Asked Questions
Can a Minor Submit Their Own Digital Arrival Card Without a Guardian?
No you can’t; minors need a guardian’s help. If the child is under 14 entering on a parent’s passport, you won’t submit a separate TDAC, but parental consent is implied.
For those 14 or older, the minor must have their own passport and you’ll submit a separate TDAC with a guardian signature or parent/guardian completing it.
Always make sure you include full child details, flight info, and contact info before submitting.
What Happens if My Flight Is Delayed After Submitting the Card?
What happens if my flight is delayed after submitting the card? You’ll likely face extra immigration checks because flight delays can cause mismatched details, slowing arrival processing and possibly invalidating the card if you fall outside the submission window.
You should resubmit with updated flight details, carry your confirmation QR or PDF, and present it at the counter. Using official forms and timely resubmission avoids manual overrides and lengthy inspections.
Is Wi‑Fi Required at Immigration to Show My Digital Confirmation?
No, you don’t need Wi‑Fi at immigration to show your digital confirmation. Always keep offline access by saving the QR code and confirmation email locally.
Take a screenshot backup on your phone and also print a copy if possible. Use airport kiosks or on‑site devices if you couldn’t complete it beforehand.
If you didn’t receive an email, contact the immigration officer at the entry checkpoint for assistance.
Can I Update My Arrival Address After Landing?
You generally can’t update your arrival address online after landing; you’ll need to follow the change process at the immigration counter. Tell officers your corrected address and show booking proof or the VOA acknowledgement; they’ll record or override details via local reporting procedures.
Bring printed confirmations and the QR/PDF receipt because counters often lack signal. If officers question discrepancies, cooperate promptly to avoid delays or refusal of entry.
Will a Rejected Card Affect Future Visa Applications?
Yes a rejected card can affect future visa applications. You’ll face higher scrutiny because consular notes and immigration records may flag the incident, increasing reapplication impact.
Be honest on subsequent forms, fix errors, and attach correcting documents when you reapply. Provide explanations for any past overstays or documentary issues, include supporting evidence, and expect non-refundable fees; thorough, transparent submissions reduce denial risk.
Conclusion
You’ve got the essentials mapped out, so don’t let forms trip you up — think of the digital arrival card as your travel heartbeat: simple, regular checks keep the journey smooth.
Fill it early, keep passport and flight details handy, and use official free sites unless time’s tight.
If rejected, follow fixes promptly.
Carry printouts/screenshots, local cash, and VOA backup plans so you’re ready at every border.
Safe travels.
0 Comment